The Camputer Part 2 – raspBMC installation
(See Part 1 for details on what the project is about and the kit bought for it so far).
I decided to go with RaspBMC as the operating system, on the basis that I wanted something Raspian/debian based, and this distro is exactly that, but with the benefit of being preconfigured as an XBMC media player.
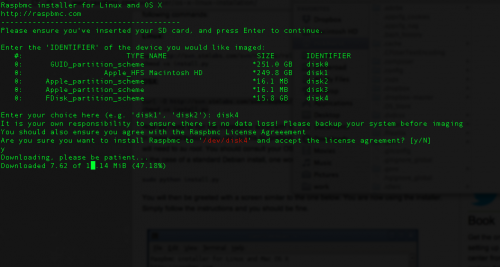
I ordered a 16gb SD card (I intend to keep my media on an external USB drive) and used the instructions to create a bootable raspBMC installation, using my macbook air, which has an SD card slot.

Then I put the SD card in the Raspberry Pi board that I got from UK Farnell, hooked up to a keyboard, mouse, ethernet cable (connected to our home router), power supply, audio cable to my hifi amp and our TV via HDMI cable.
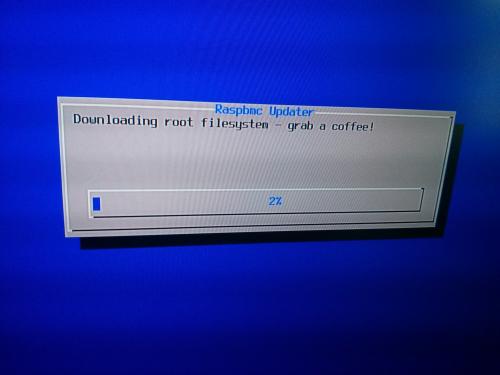
The bootable SD then takes you through the rest of the installation – it took about 25 minutes.

The Pi then booted into XBMC, which i’ve never actually seen before, and it looks great. I enabled AirPlay in the settings and found that I could stream audio and (non-apple DRMed) movies from itunes and from my wife’s iPhone. I’ll probably set one up specifically as a home media system in the future, and probably others just for audio streaming to amps/speakers around the house.
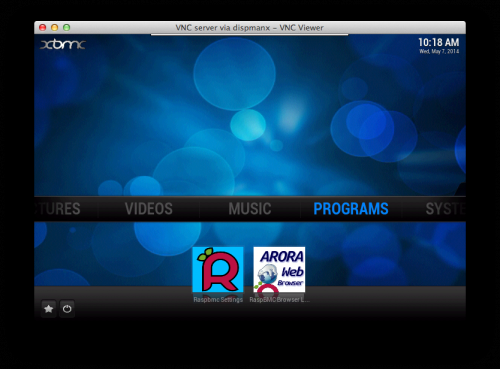
I then went of at a tangent, trying and failing to get a vnc server installed and working, so that I can control it from another device, as it will likely be run headless in the camper van. After a bit of digging though, I realised it already has a VNC server installed which can be enabled in the system settings – the raspBMC settings rather than XBMC settings. You can also start it from the command line with:-
service vnc start
I couldn’t get it to connect using OSX screen sharing, so I installed Real VNC viewer. It seems very sluggish, but works.

So the next stage is to hook it up to a USB drive with some music on it, create some playlists and investigate how I can interact with the player programatically via the API.
Follow-up posts:
Part 3: The Camputer Part 3 – API hacking
