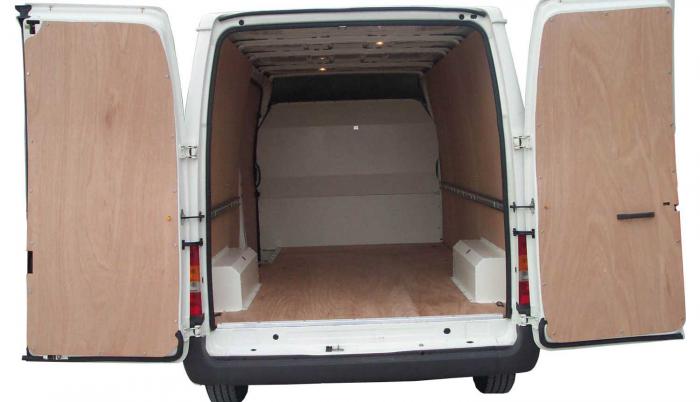
Building a minimal VW T6 campervan (twice)
A while ago, I wrote about minimal campervan conversions – i.e. what is the least you can do to call your van a campervan? In 2023, I found out for myself.
I had a tight deadline, and limited budget to get something ready for a European road trip with my wife in the summer. So with very little time, I had to get a campervan road-trip ready.
The base van
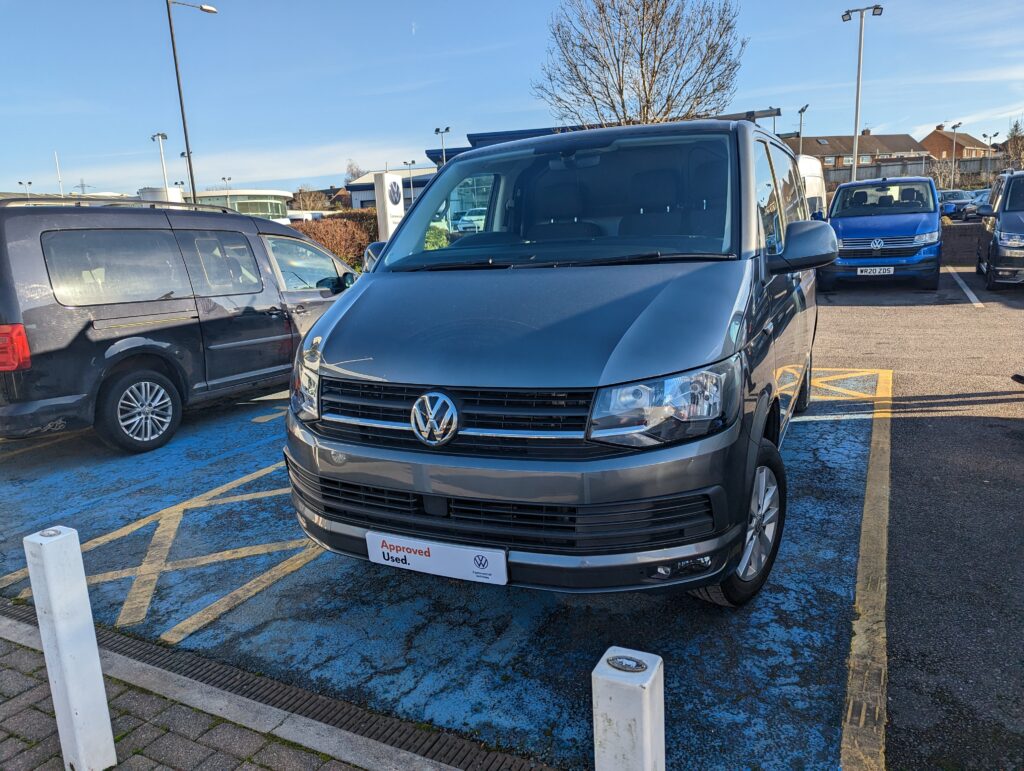
Having owned several old campervans which I’ve spent as much time crawling around underneath as I have driving them, I put most of the budget into a decent base van. I started with an “approved used” 2018 VW Transporter T6. Sure when buying a VW you have to pay a “scene tax”, but from previous experience you get that back when it’s time to sell it!
The first job was to remove the factory bulkhead, which simply unbolts, though this does leave a lip along the floor, which needs to be removed if you want to fit a rotating seat (more on that later).
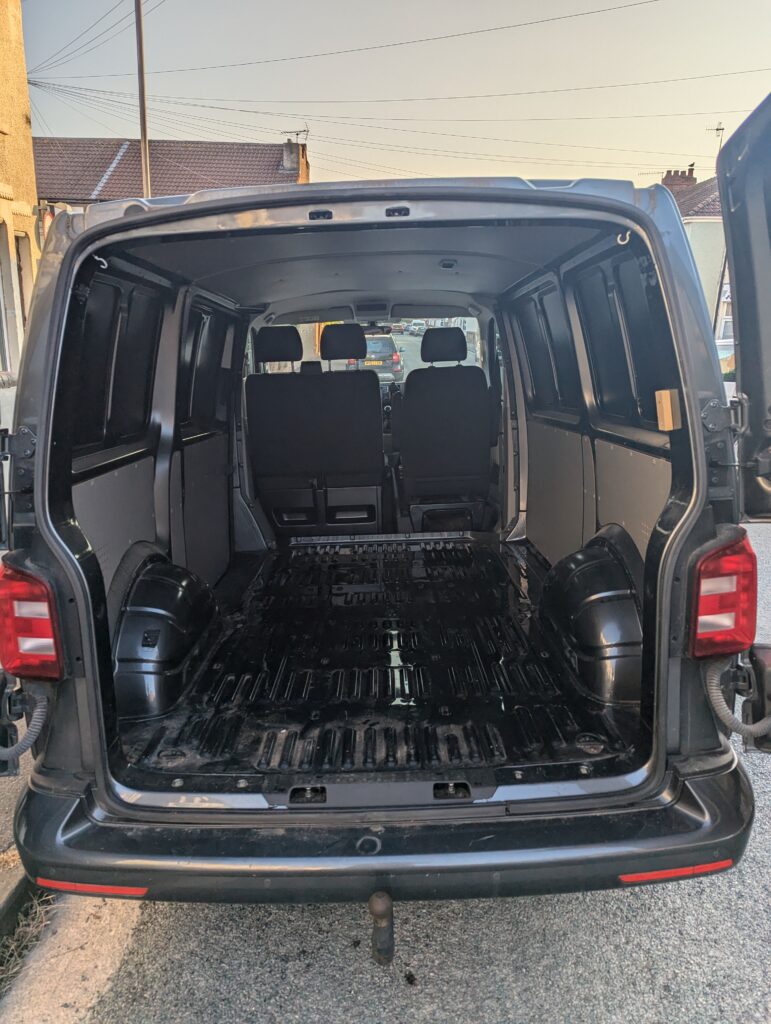
With the bulkhead removed, this was my starting point:
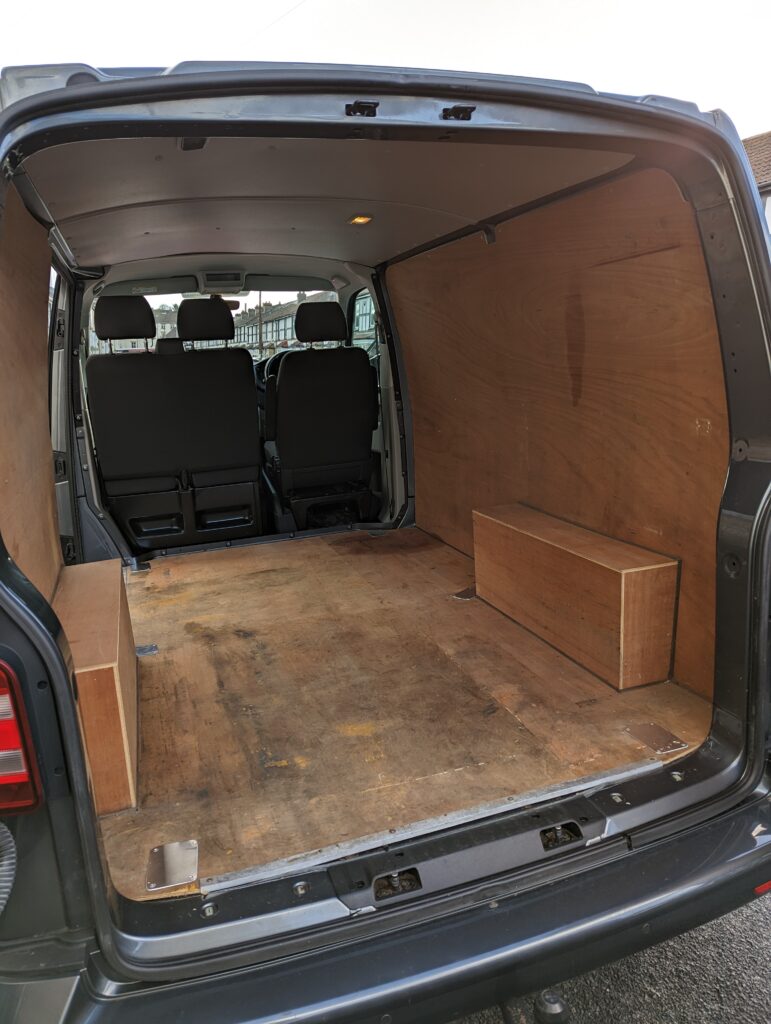
The van came conveniently ply-lined. This was absolutely key: it meant I could screw things directly to the ply without worrying too much about structural support or damaging the van itself. Drilling in to the metal of a van is not for faint-hearted, so being able to avoid that for most of the initial build was very handy.
Flooring and tongue-and-groove cladding
Fitting the tongue and groove cladding proved to be a quick job – I just cut it to size and screwed it directly into the ply-lining with short screws. The flooring is wood-effect vinyl which is laid directly onto the ply-lined flooring, cut to shape and lightly glued down with contact adhesive.
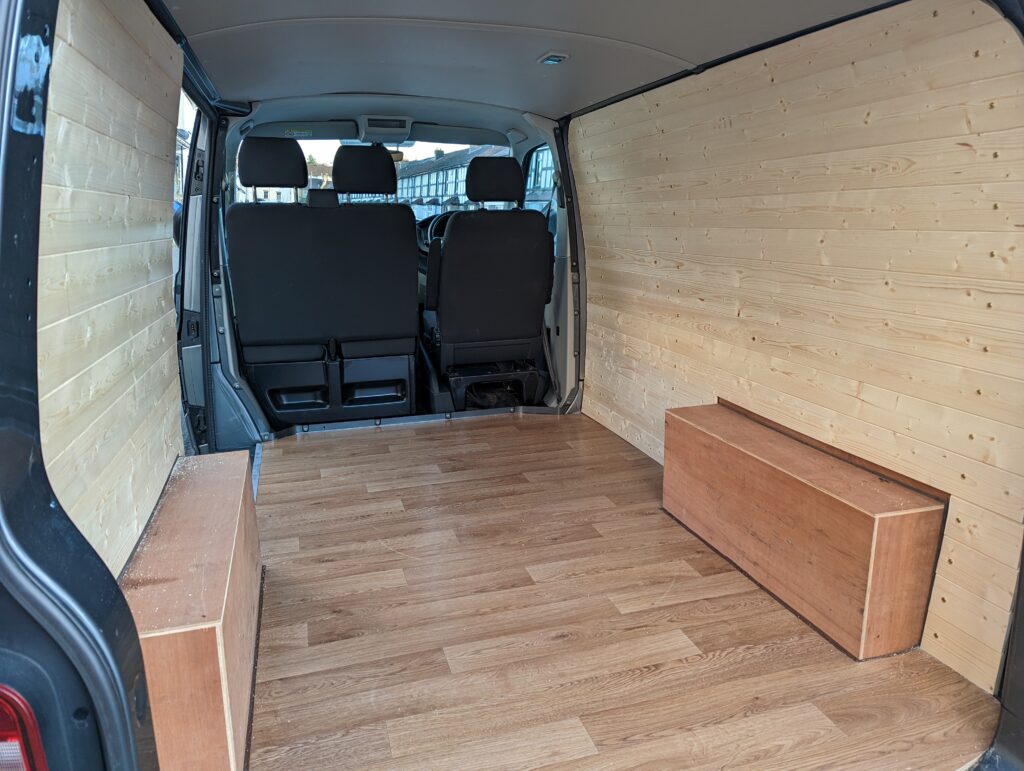
I left the factory-fitted ceiling in, knowing that at some later point we would want a pop-top roof fitted, and this would be removed anyway.
The bed
I found a brilliantly simple pull-out double bed design featured in this YouTube video. I loosely copied it, using studwork timber and IKEA bed slats for the base. The main structure is screwed to ply of the wall and floor. The pull-out section isn’t attached in any mechanical way, but thanks to the weight and friction, the pull out part stays put. It’s been brilliant, and I’d use the same design again – maybe with thinner-section wood for the main structure to save weight – it’s somewhat over-engineered!
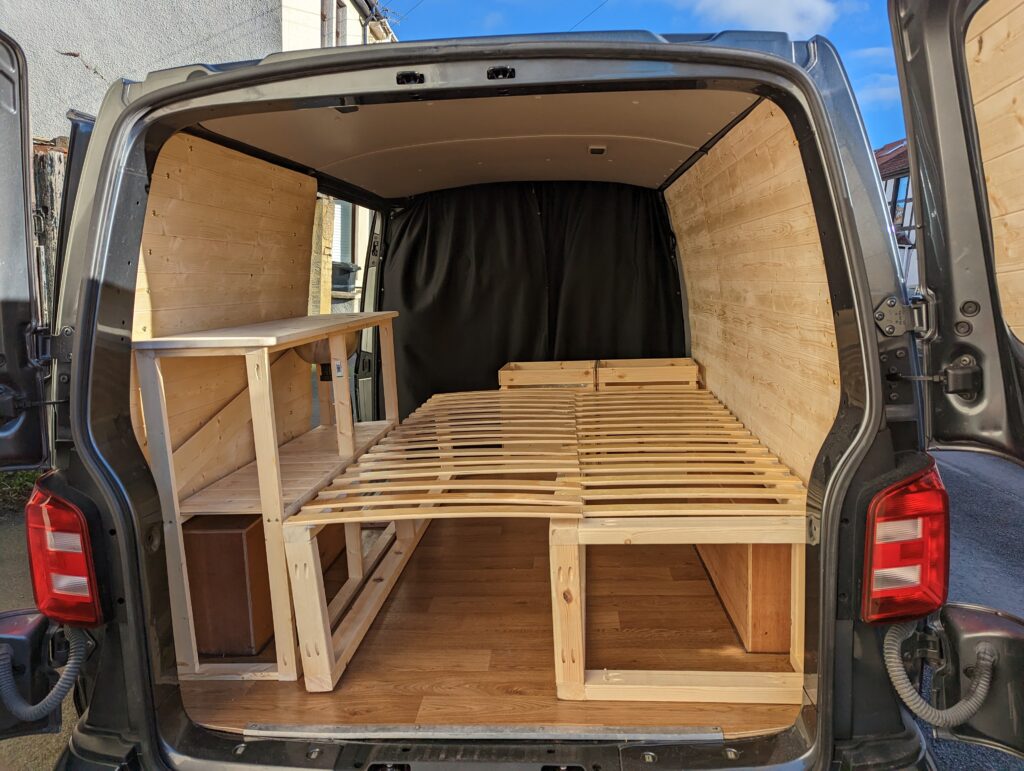
This was the project that convinced me to buy a pocket hole drill. Game-changer. It made everything sturdier, faster to build, and more professional-looking than anything I’d done with wood before.
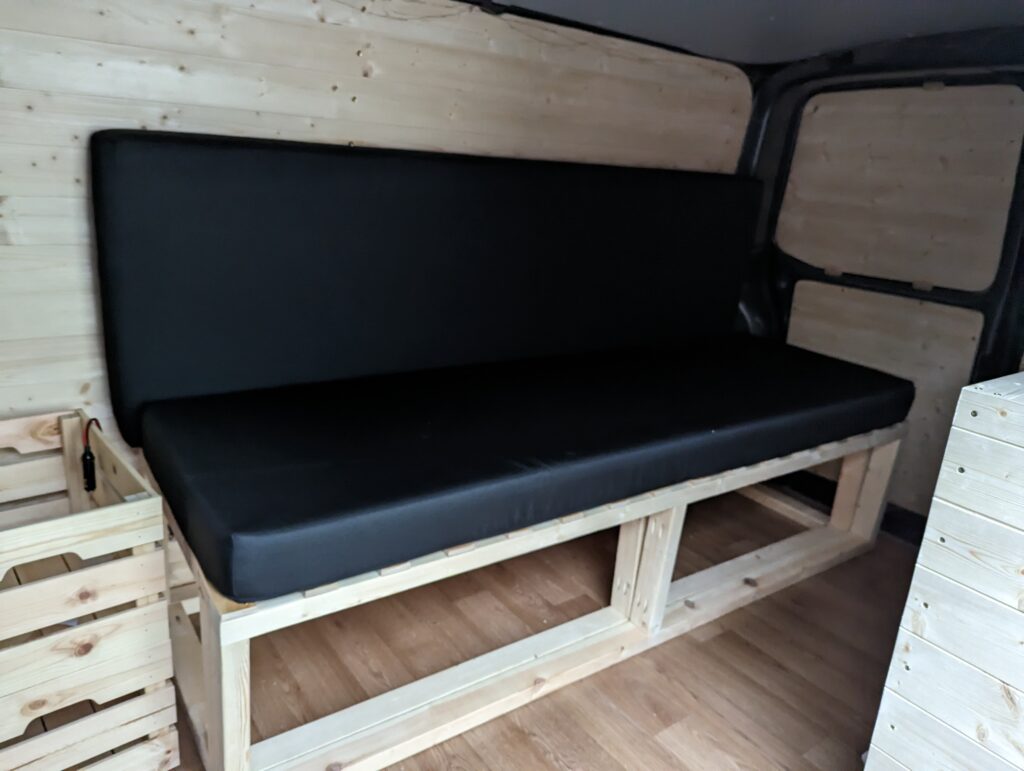
For the mattress, I had two foam sections custom-made, topped with a layer of memory foam and upholstered nicely. It was one of the pricier parts of the initial build, but worth it for the convenience and professional finish.
Storage and kitchen unit
I also threw together a compact kitchen unit using pine shelf from Wickes for a work top. For the sink, I went ultra-minimal: a stainless steel salad bowl that already had a plug fitting. Drainage is handled by a 10L container, and I used a 12V submersible pump feeding fresh water from another 10L container into a standard domestic mixer tap. A switch drives the pump – the tap needs to be left open for water to flow. No hot water in this version!
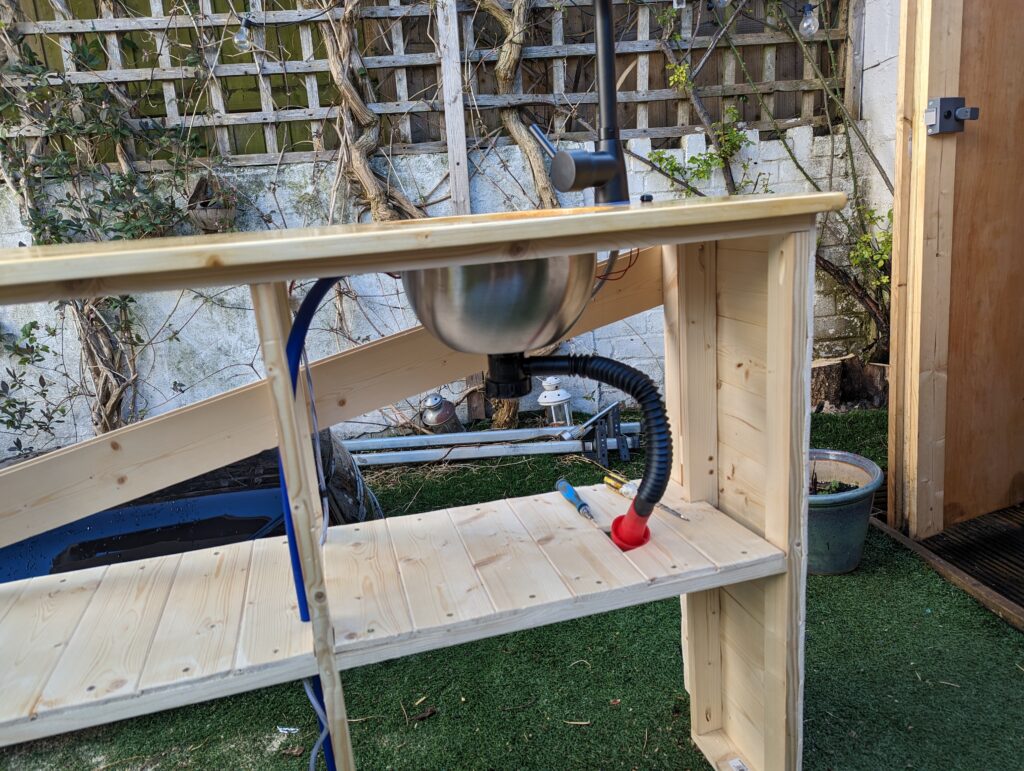
The plumbing was… let’s say “experimental,” but after a few false starts it works. If I did it again, I’d use proper adapters for connecting camper-style plumbing to standard taps.
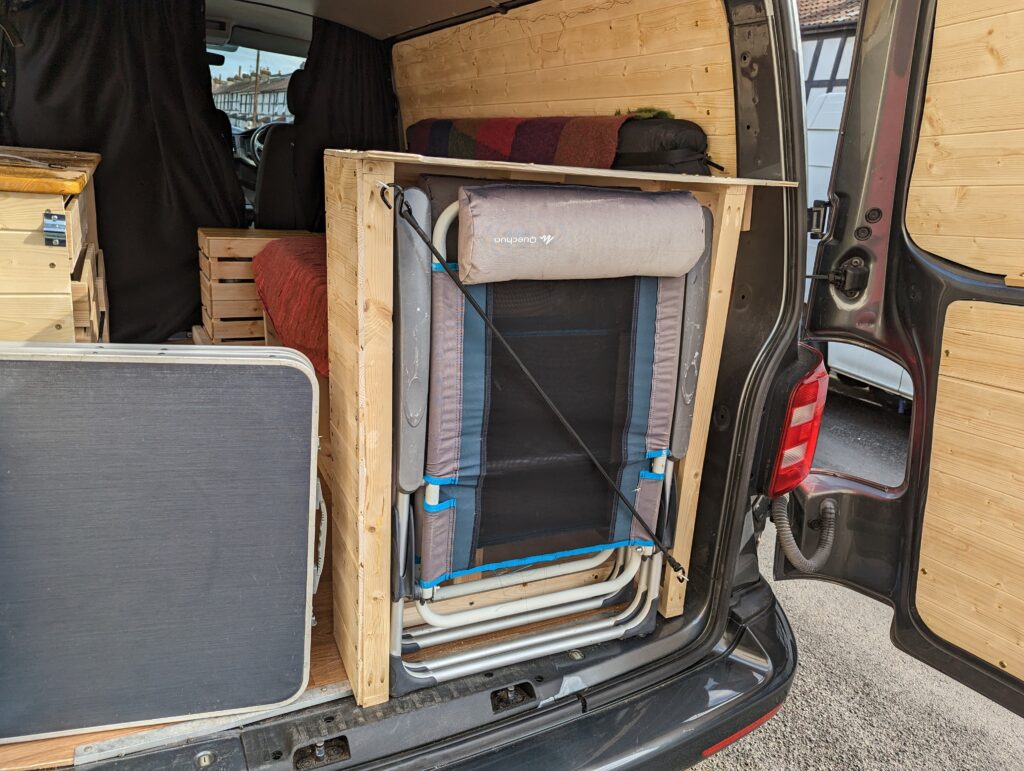
Next, we needed a headboard, and some storage to fit our Decathlon chairs. The headboard served as both.
Power and fridge
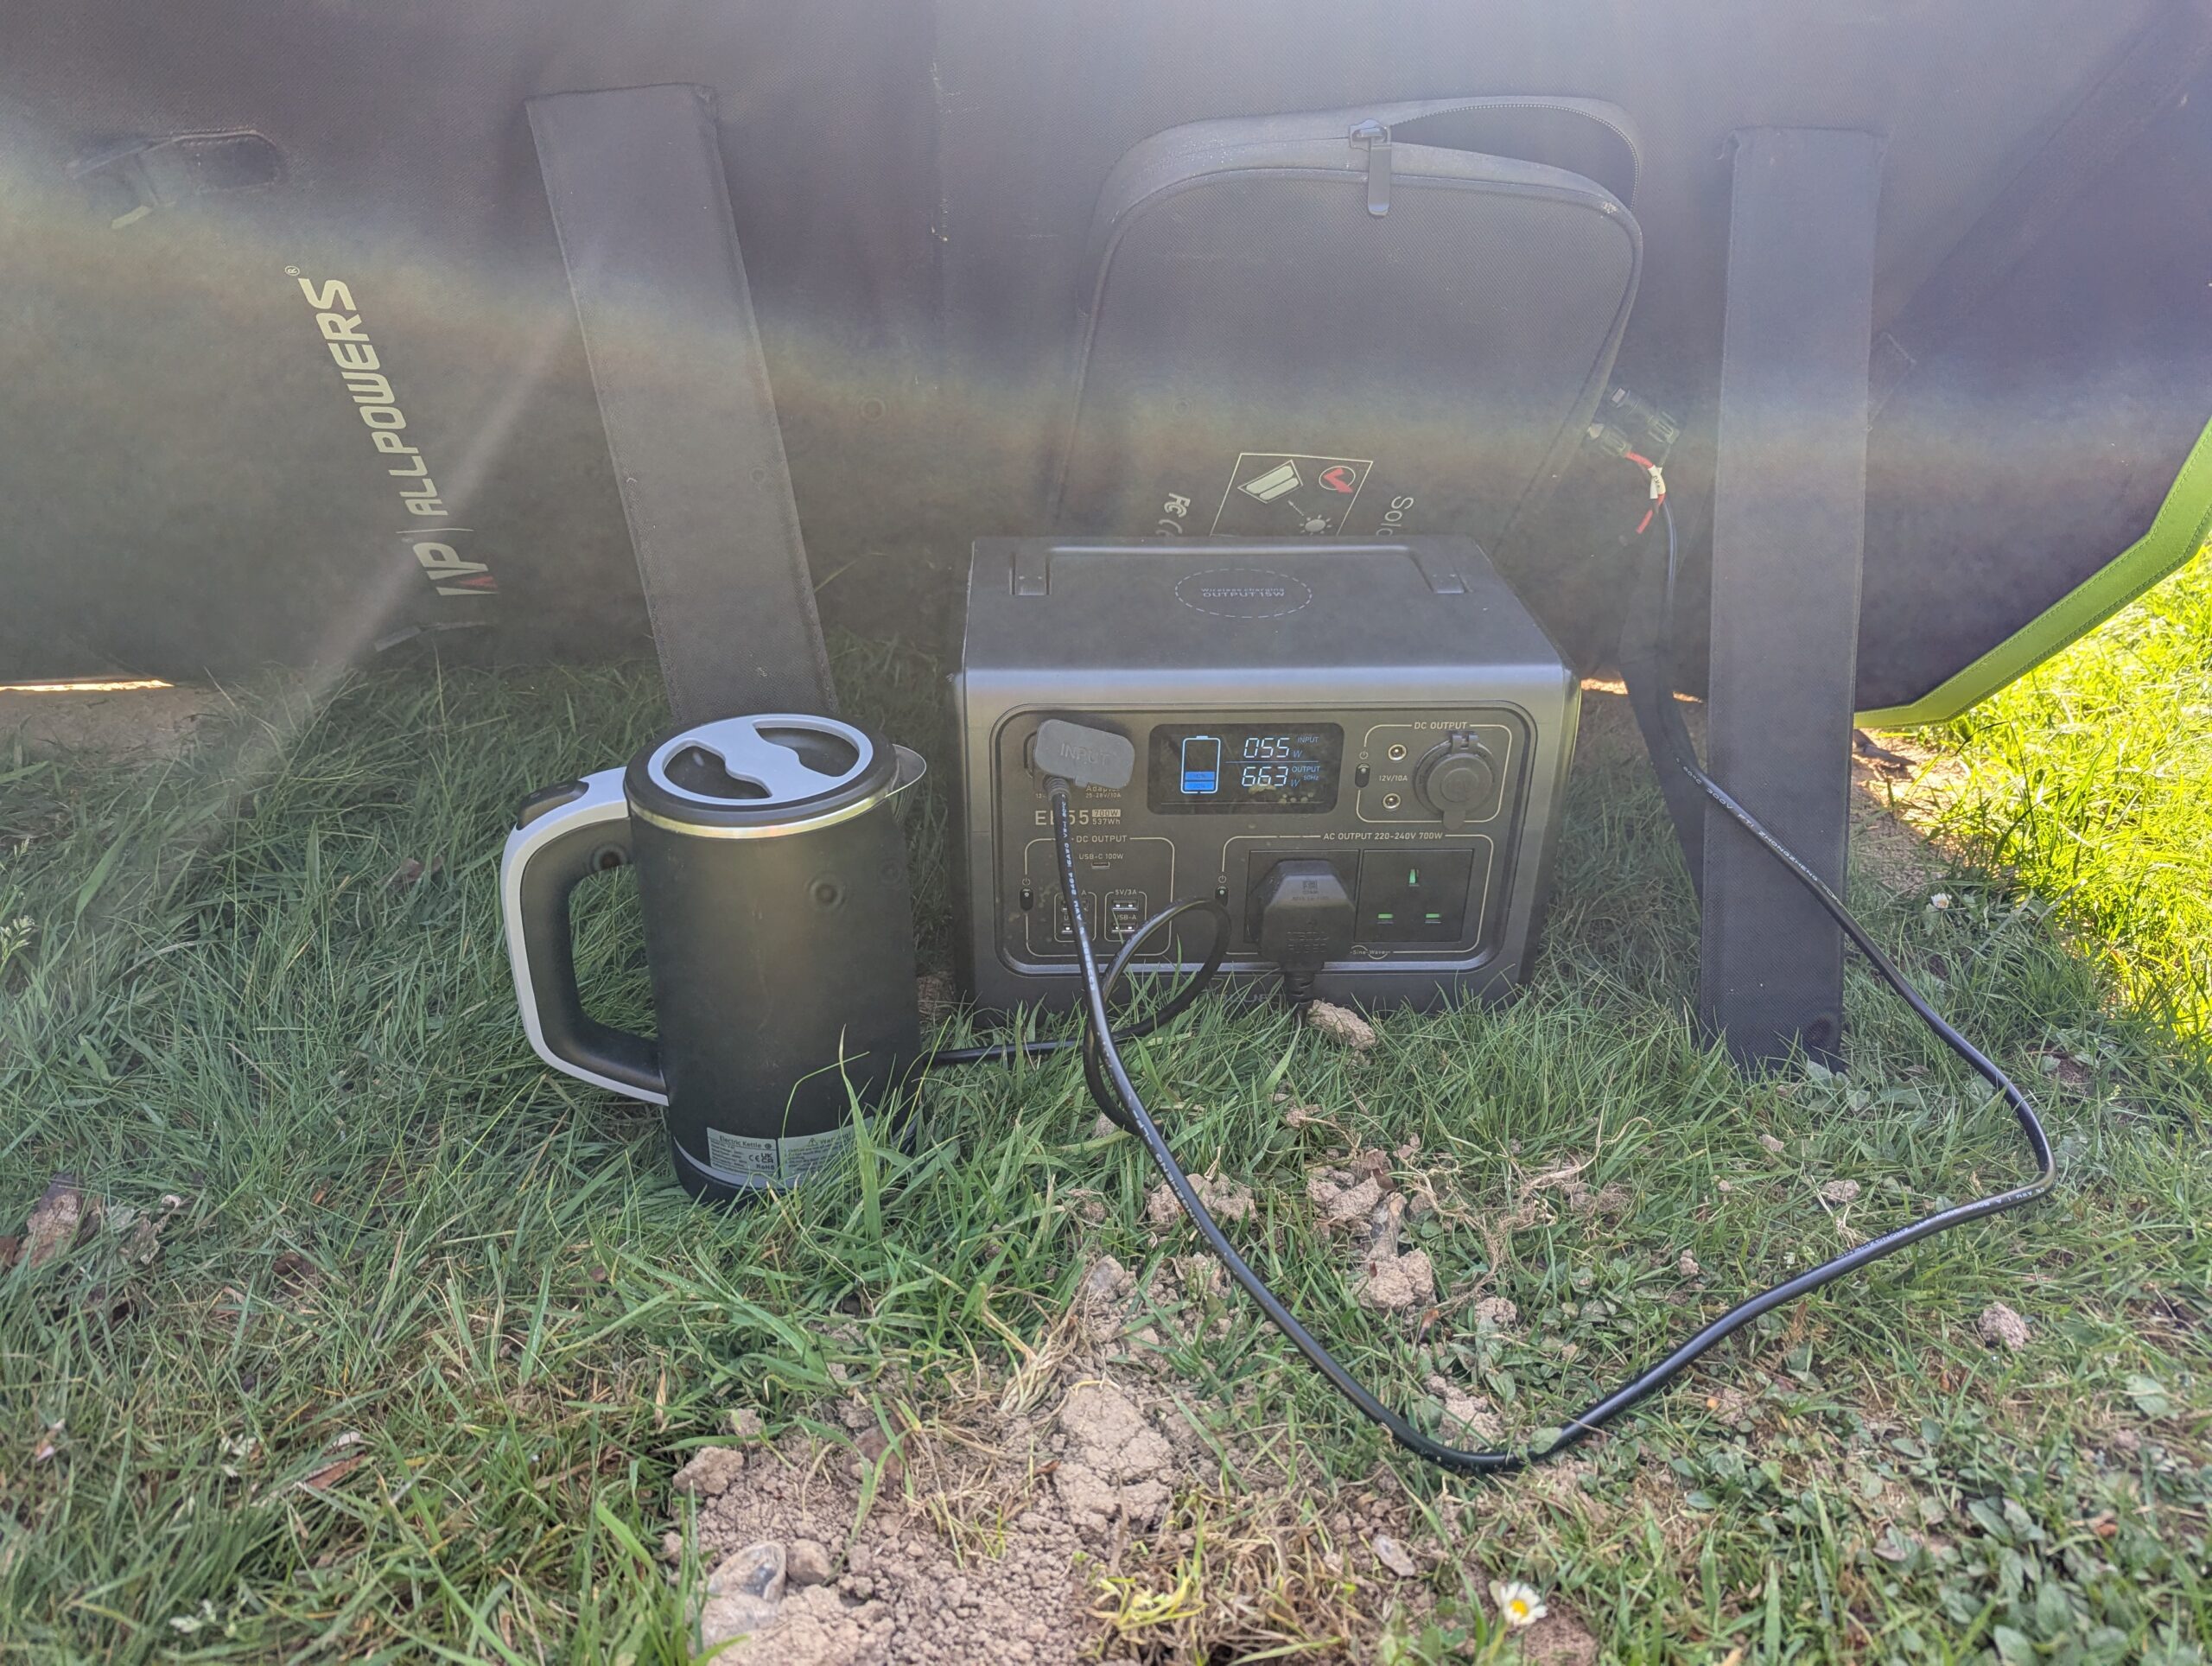
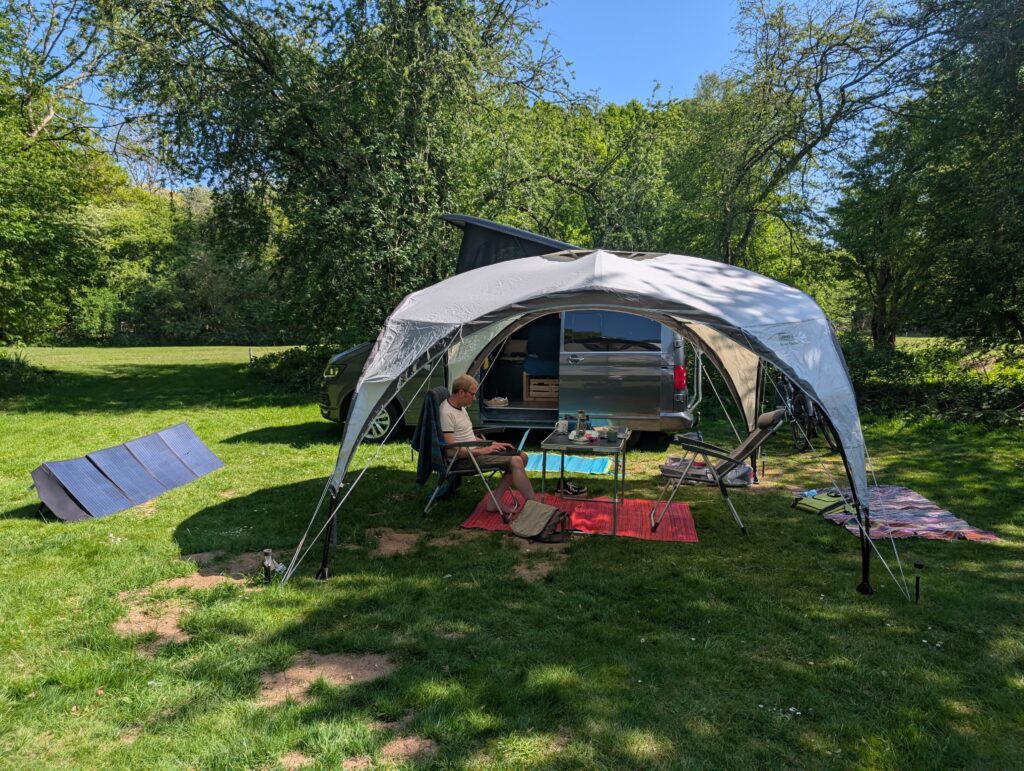
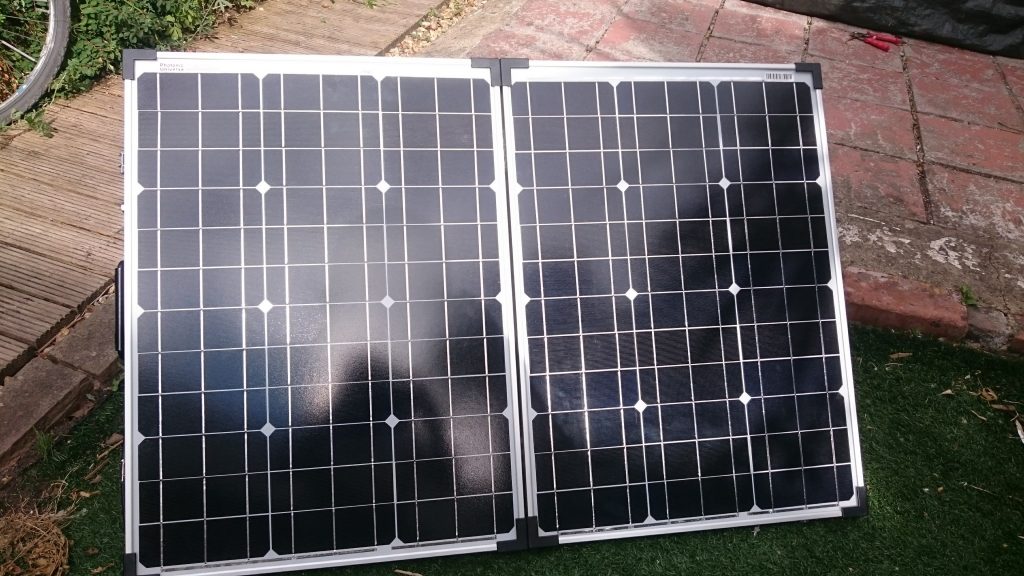
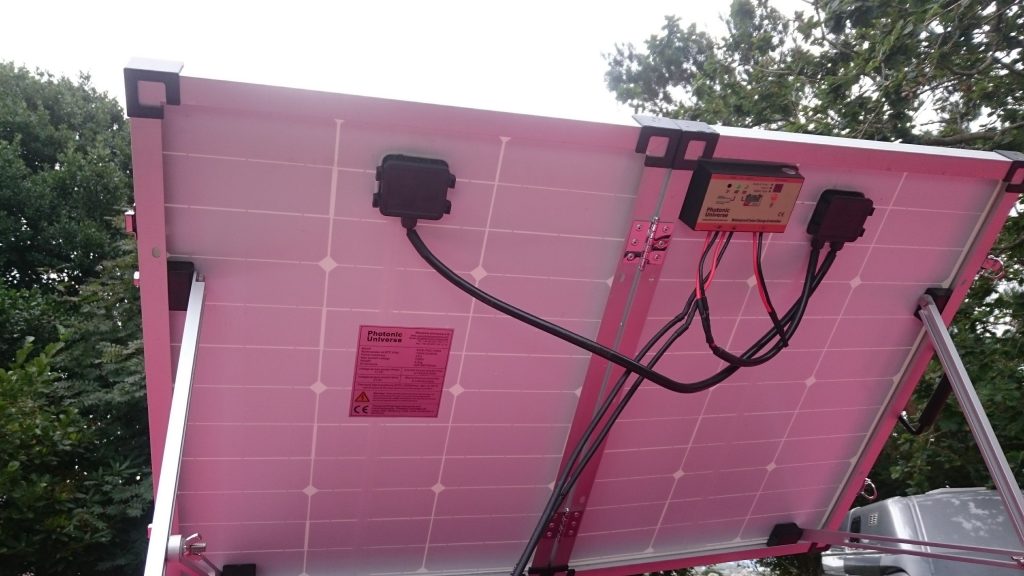
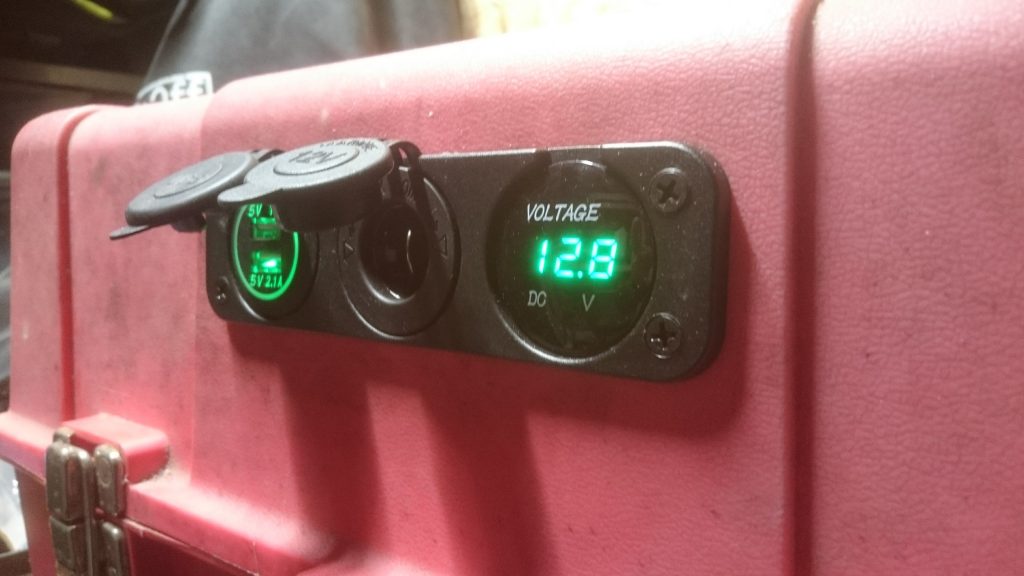
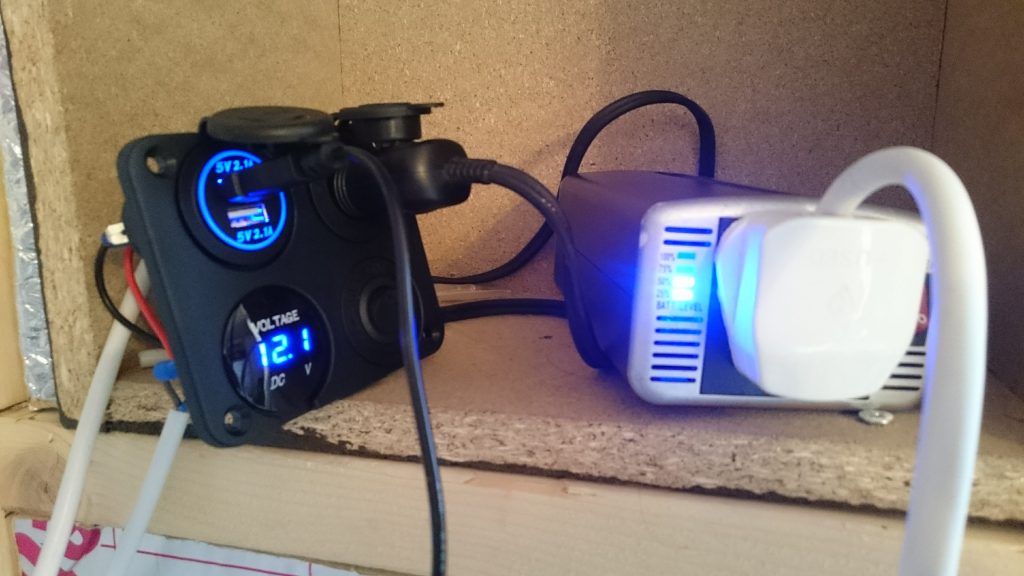
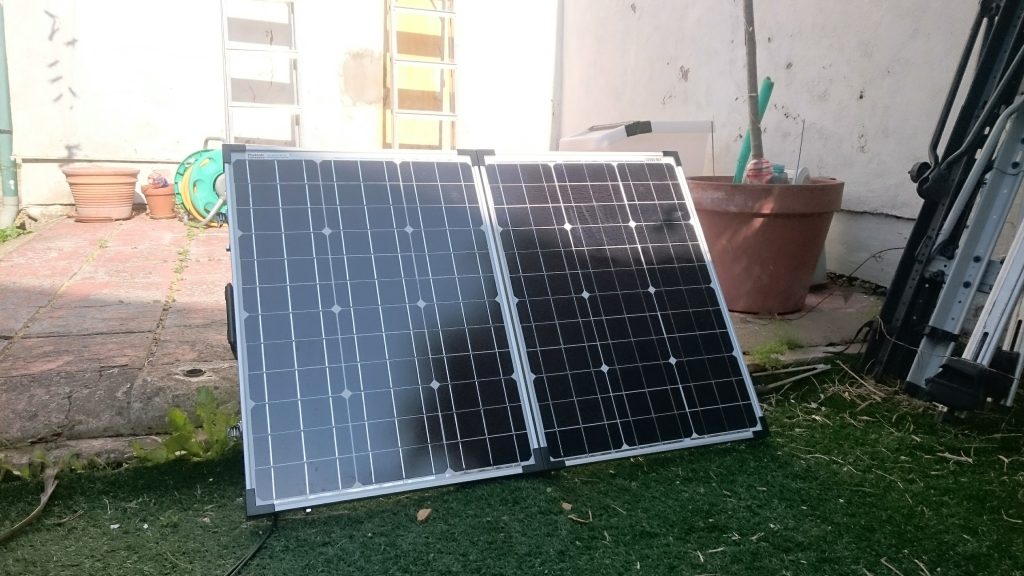
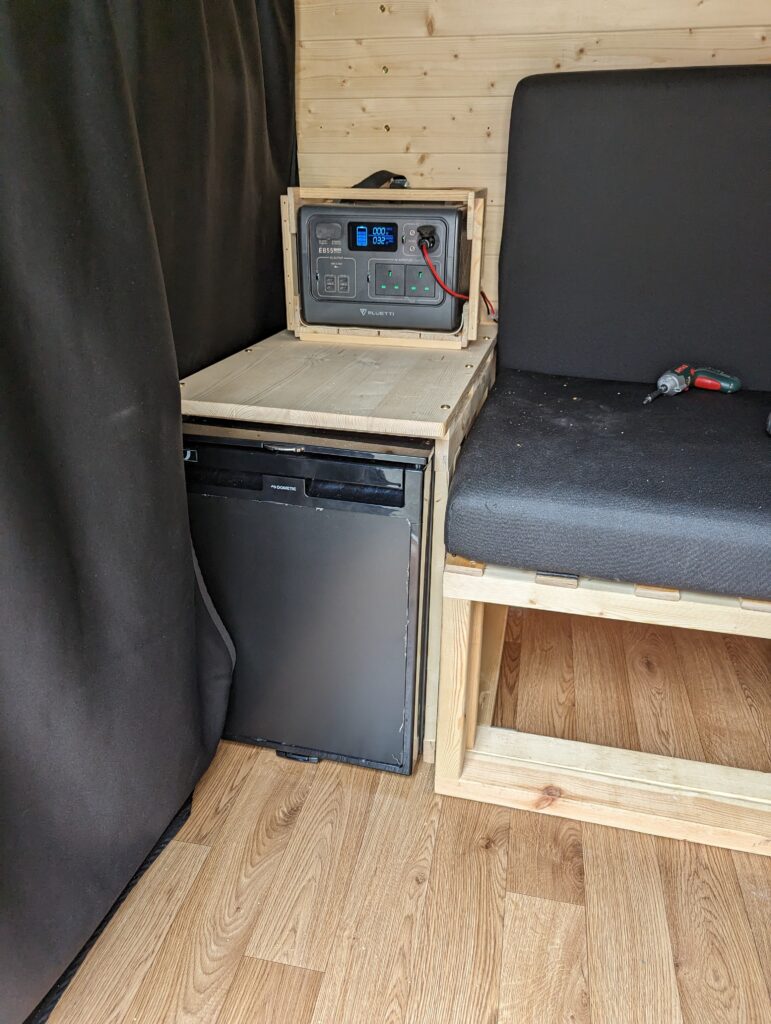
With no time to fit a proper electrical system, I relied on my Bluetti EB55 portable power station, with off-grid runtime extended via a 200 Watt portable solar panel (see this earlier post for more on those). It is enough to run the tap, some lights, and a Dometic 12 volt compressor fridge mounted at the foot of the bed. The electrics really are basic – a simple fuse box mounted to the wall under the bed which feeds the lights, fridge, water-pump and some 12 volt and usb sockets. This is fed by a single 12 volt plug plugged into the Bluetti. It has a 10 amp limit which I’ve not yet reached, and the wires do not get hot.
Cooking – portable camping stoves
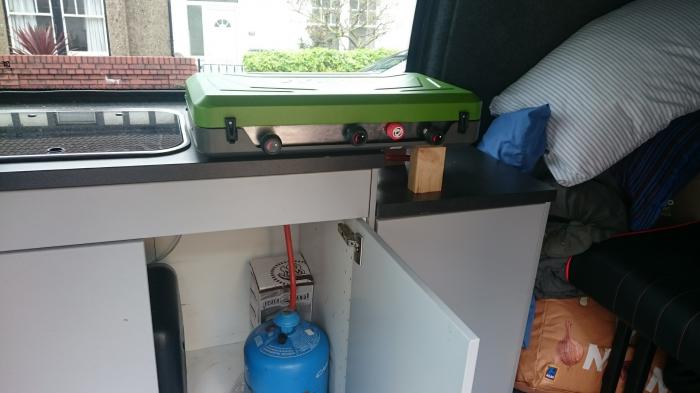
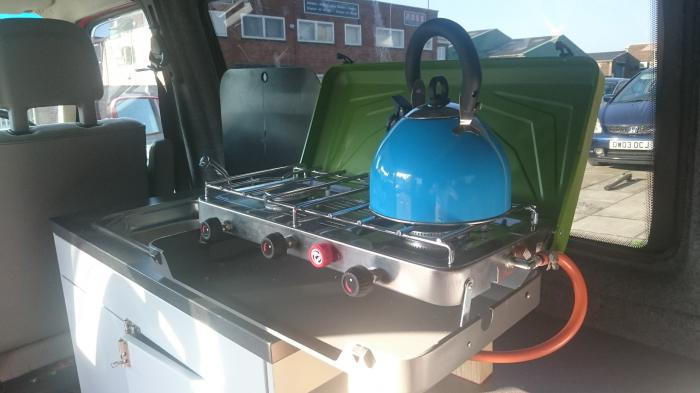
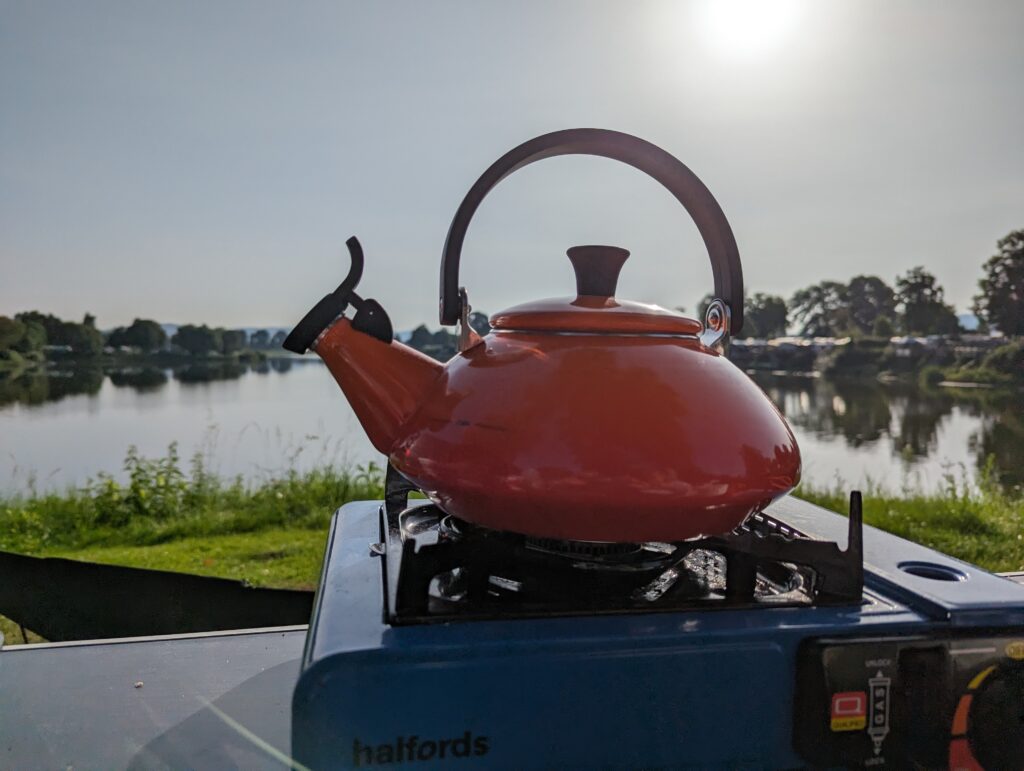
For this initial minimal build I didn’t want to build in a permanent cooker or mess around with gas plumbing, so cooking and kettle boiling was taken care of by a pair of cheap halfords camping stoves, the type with the disposable gas canisters.
Add in some cab curtains for privacy, and that was Version 1 of the van, ready for Berlin and beyond.
A successful first trip
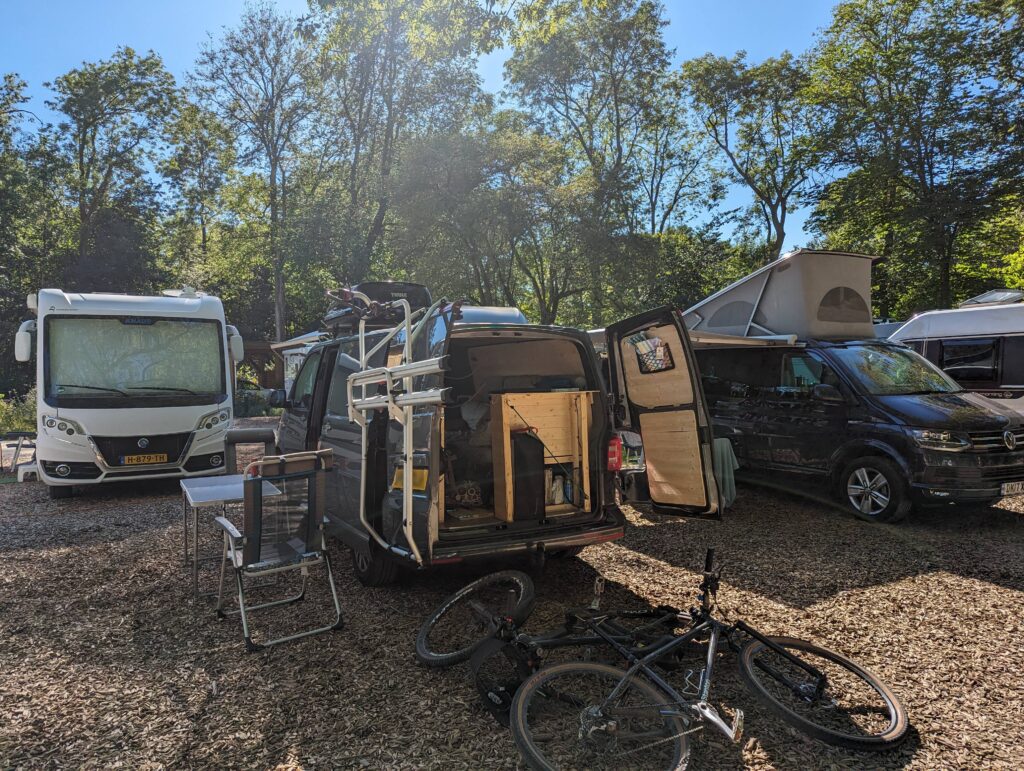
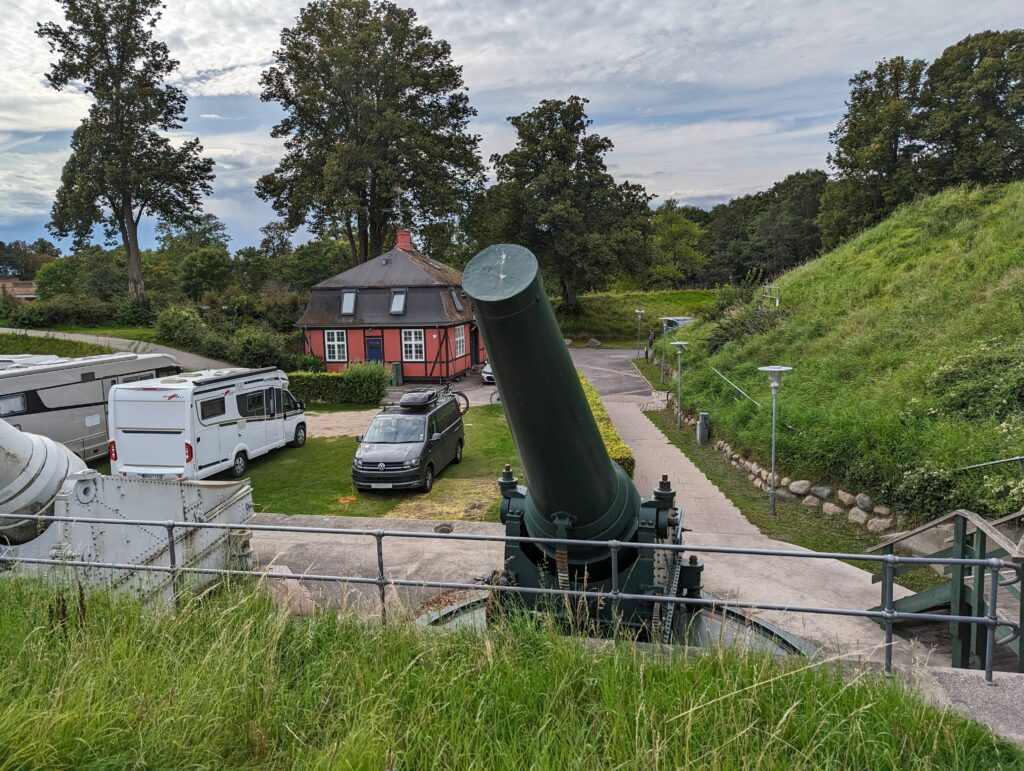
The trip was great. The setup held up really well, but showed it’s limitations during a 24-hour rainstorm in Copenhagen when we were cooped up too long inside in a windowless van, with only some USB fairly lights for lighting. And so we started planning phase 2!
Upgrades: version 2
Two years later, with a bit of budget and time, I booked the van in at Skyline Roofs to have a pop-top fitted.
We also asked Skyline to do a few other jobs:
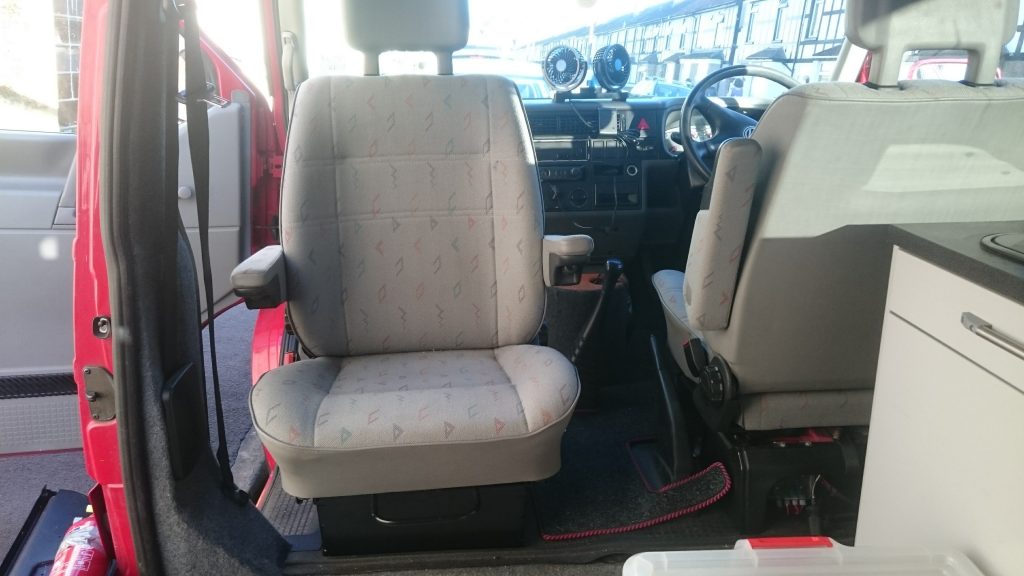
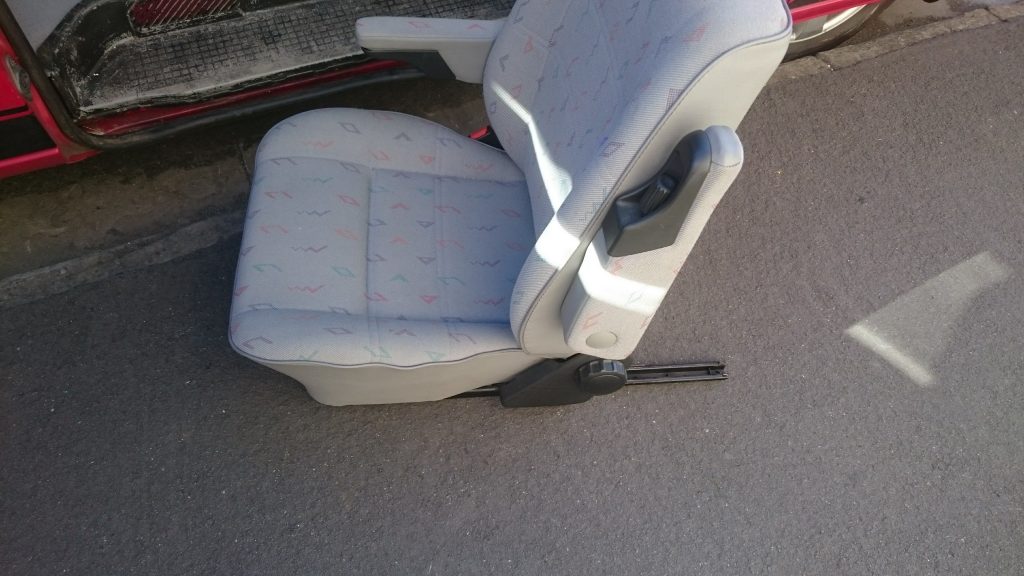
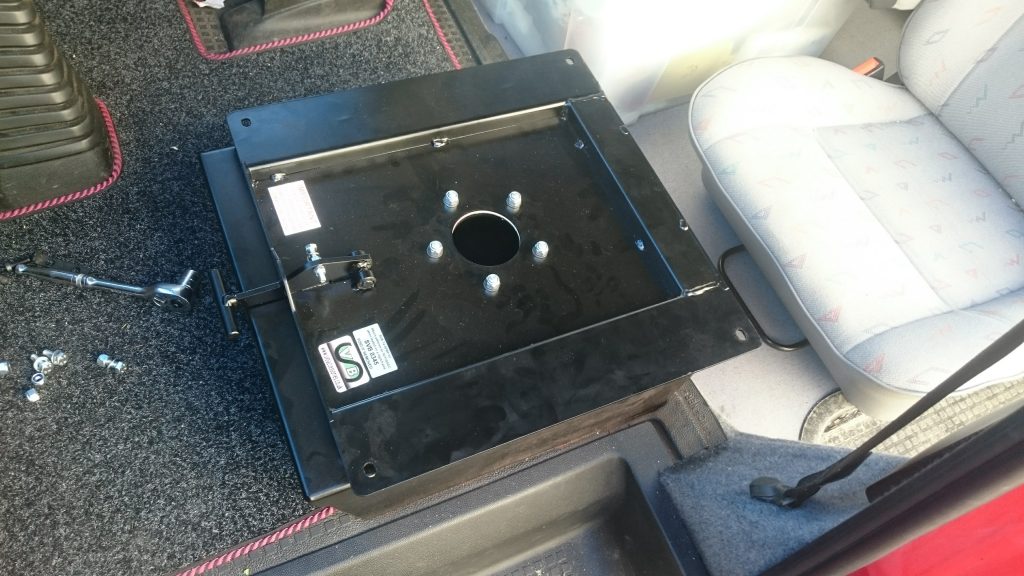
- Install a swivel base on the double passenger seat.
- Fit flush opening side windows (which we supplied).
- Fit some 12 volt LED downlights with switch.
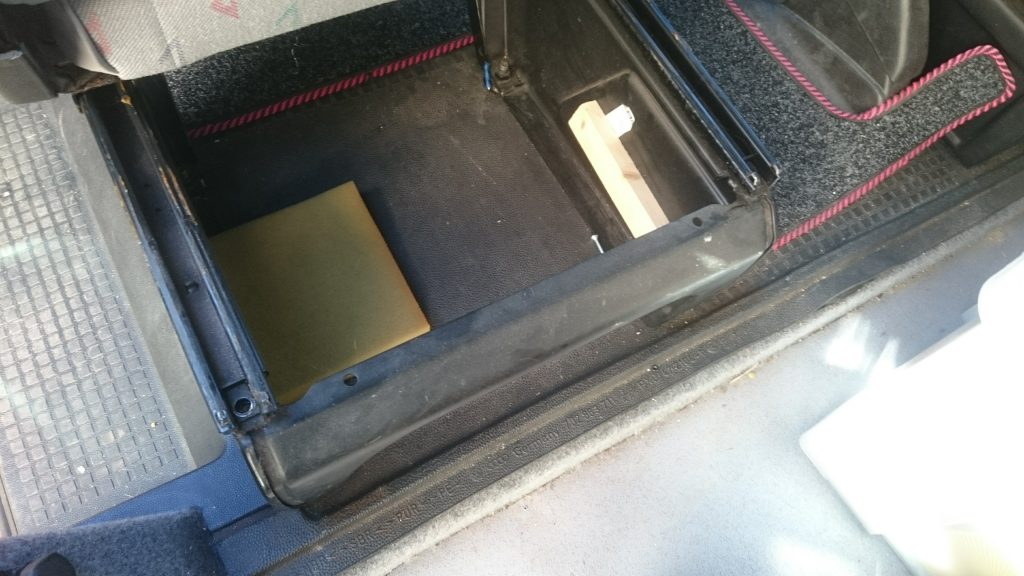
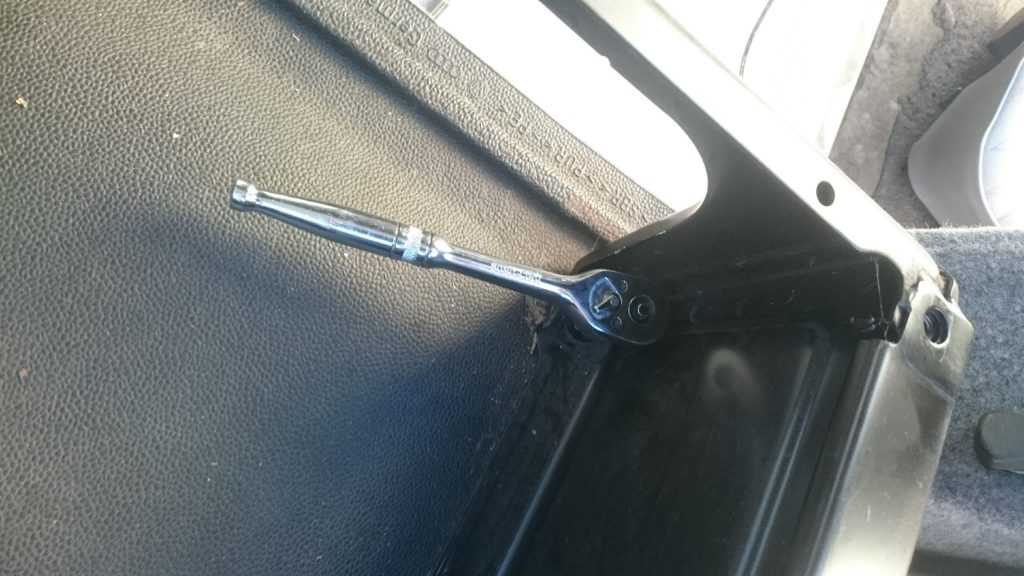
With these upgrades on the way, I stripped the van back to the bare metal—everything I had previously built ended up in our dining room temporarily.
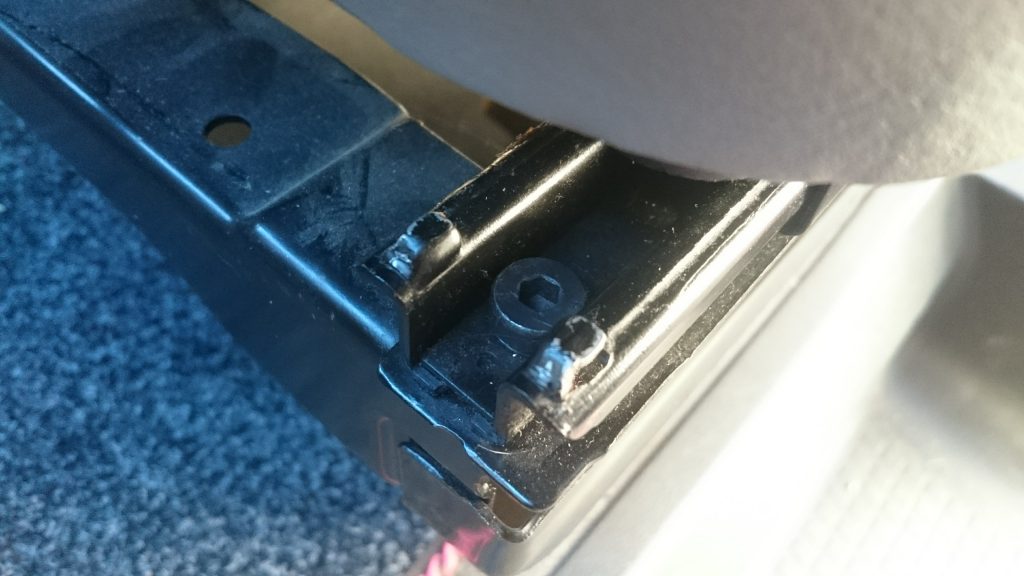
In the photo below you can see the metal lip running along the floor and up the B pillars behind the seat bases, which the bulkhead was previously bolted to. Removing this lip requires drilling or angle grinding the welds – a job I left to the pros at Skyline!
This was a great opportunity to:
- Clean up the interior.
- Apply rustproofing to the screw holes from the factory ply.
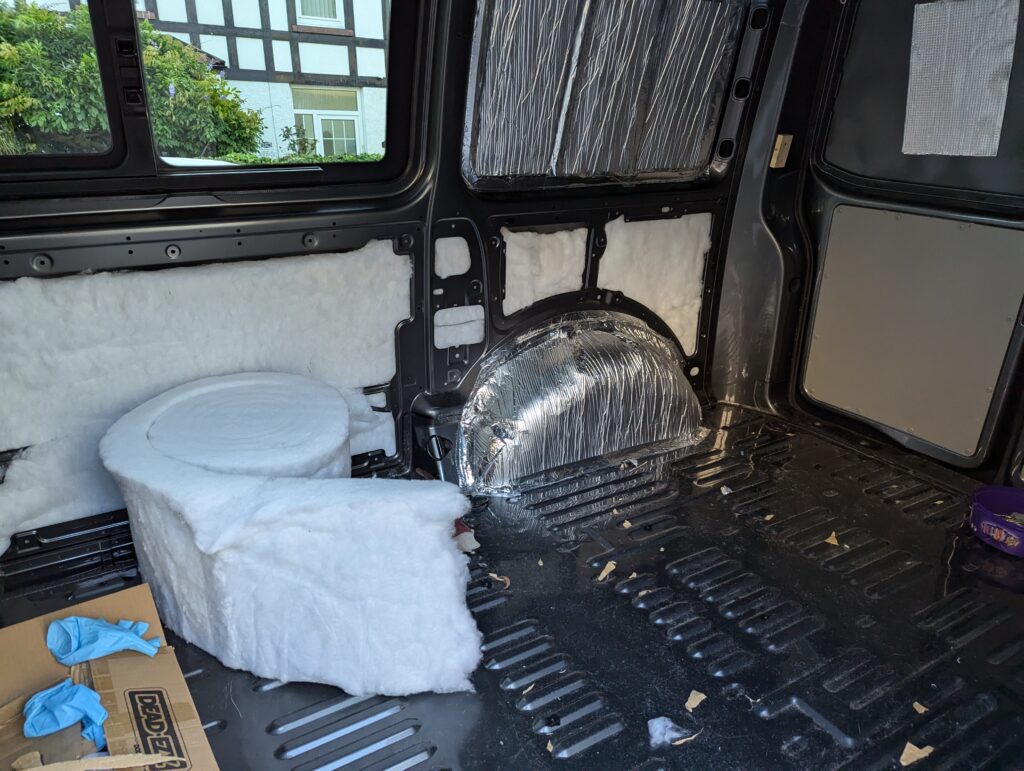
- Add sound deadening and some insulation.
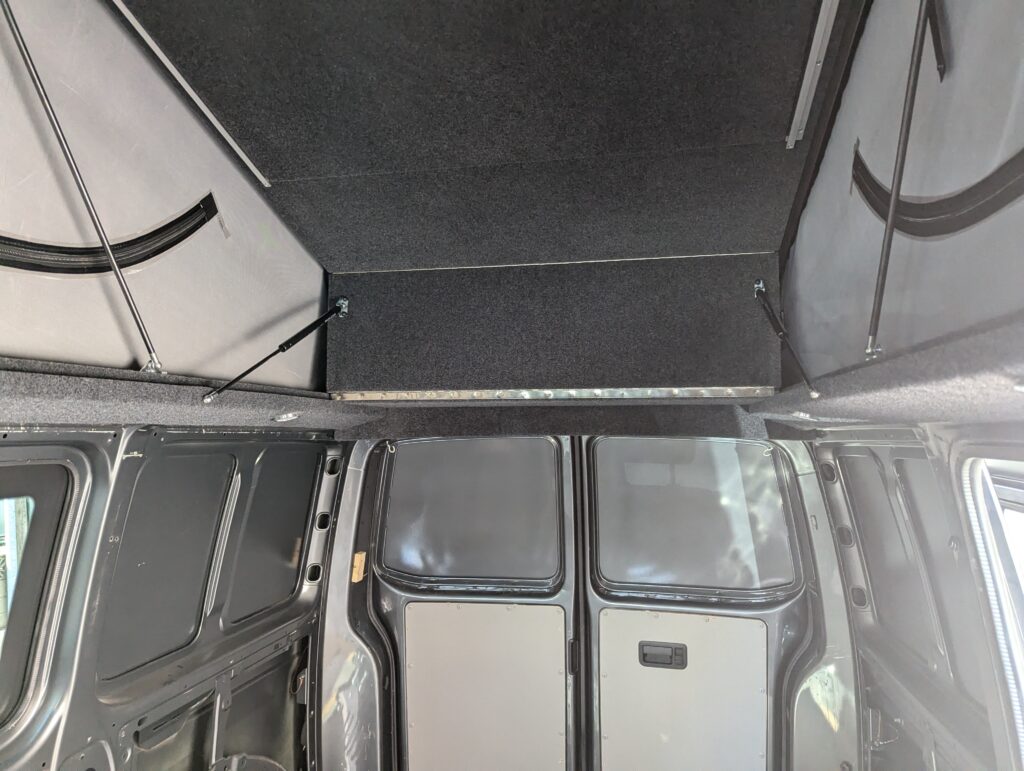
We went for a hinged bed board in the roof, which adds standing room almost all the way to the rear.
The insulation dilemma
Insulation is a hot topic in the van world, with strong opinions and loads of conflicting advice. Our experience? The van worked fine without it. Many factory conversions like the VW California don’t include insulation (not sure if that’s true for all versions), relying on (inefficiently) heating the van instead. We have used the van on electric hook-up in winter running an oil-filled radiator and it was toasty.
Still, since I had everything pulled out, I added some some aluminium backed sticky foam over some sound-deadening strips, and added some basic recycled plastic insulation in most of the cavities. I skipped the floor insulation to avoid raising the floor height. Will these sections of insulation make a huge difference? Hard to say yet – more cold-weather testing needed. The sound deadening strips certainly helped make the van less “echoey”.
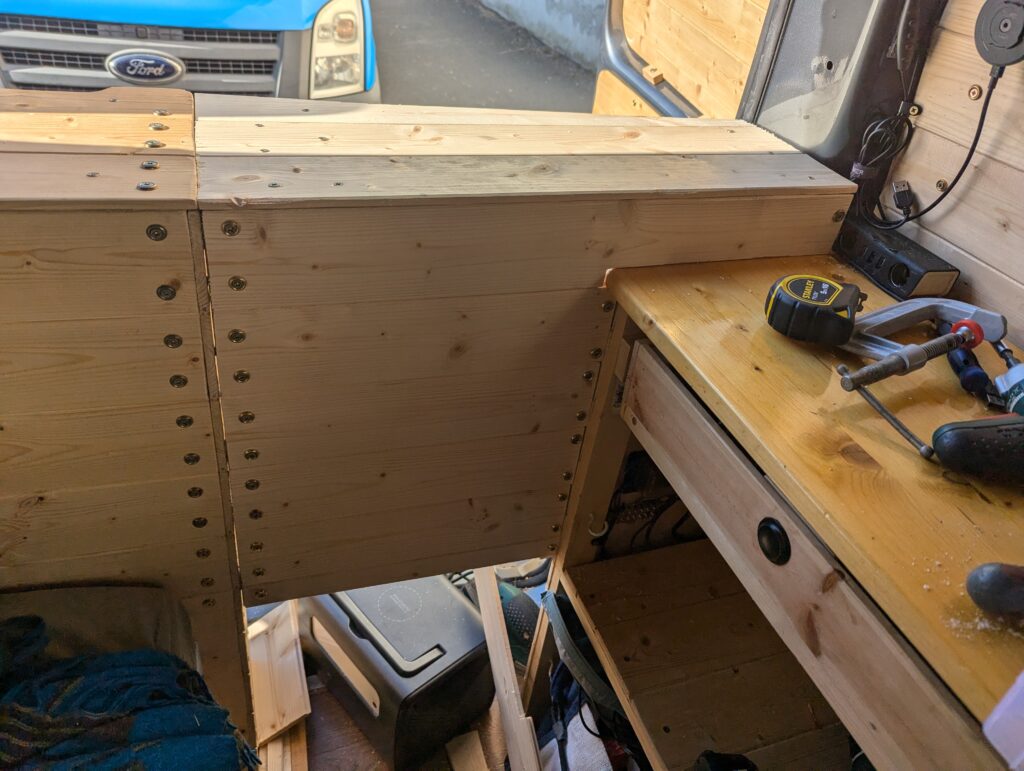
When refitting the interior, I also extended the headboard while also providing another storage space.
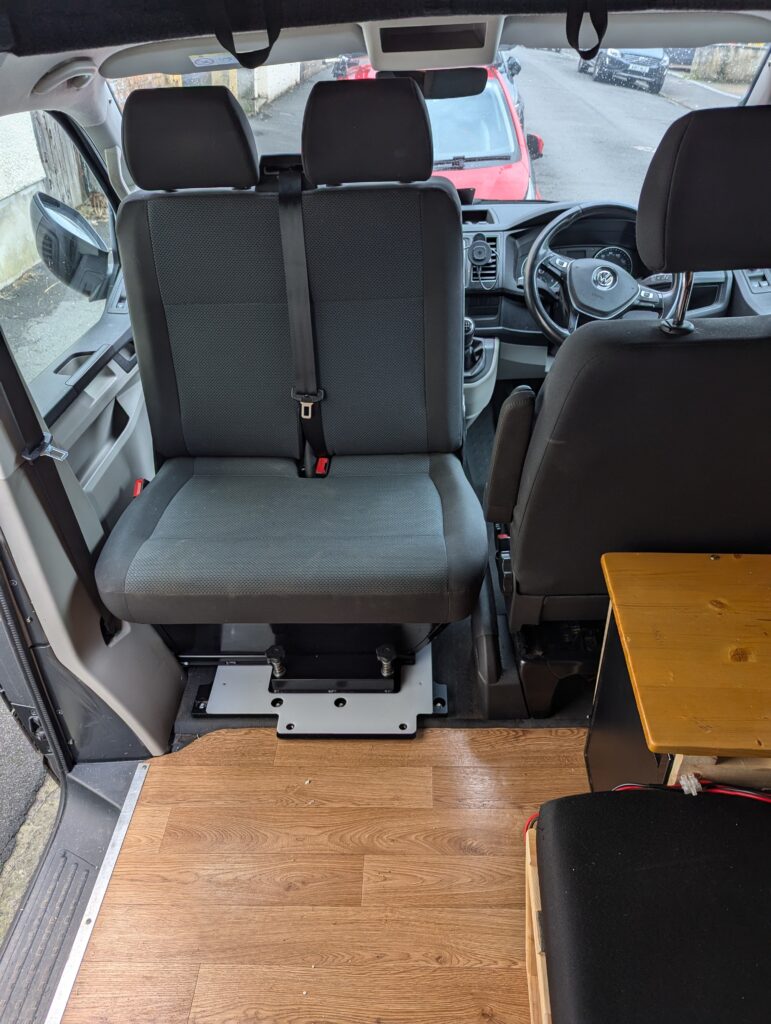
With the double passenger seat rotated and the roof up, the interior is totally transformed.
What’s Next?
The Bluetti power station has been great, but it’s a workaround. I want a permanent, integrated 12V electrical system. Here’s the plan:
- A LiFePO4 battery under the driver’s seat.
- A battery-to-battery charger (required for smart alternators, where a voltage-sensing relay would have been fine on.. err… dumb alternators).
- A solar controller, integrated if possible with the battery to battery charger.
- A fixed solar panel, though I’m reluctant to drill through the pop-top roof to feed cables. We don’t have a driveway, so a solar trickle charge while the van is parked at the side of the street is ideal for keeping the system topped up and ready to go.
- Mains Electric hook-up under the bonnet, just feeding a mains plug strip – nearly every power requirement I have is 12 volt or USB-C, no need to run mains wiring around the van.
- Maybe an inverter, but I would likely use a larger powerbank with built in inverter to drive appliances (e.g. induction hob, air-fryer) and leave the built-in battery to run the basic 12 volt system.
- More storage – there’s never enough!
That’s the journey so far – from minimal dark and cramped, to comfortable (but still minimal-ish). I’ll post again once the electrics go in.


